NOTE: The links on this page will open in new tabs so you can easily come back to this page when you’re done.
Step 1: First, determine if your event will be RSVP-based or Product-based. RSVP-based events are free to attend but you can limit the number attending, see who is attending and many other options. More information about RSVP options can be found here. If your event is Product-based, you will need to create the product you are wanting to sell first. Product-based events have additional options you can read about here.
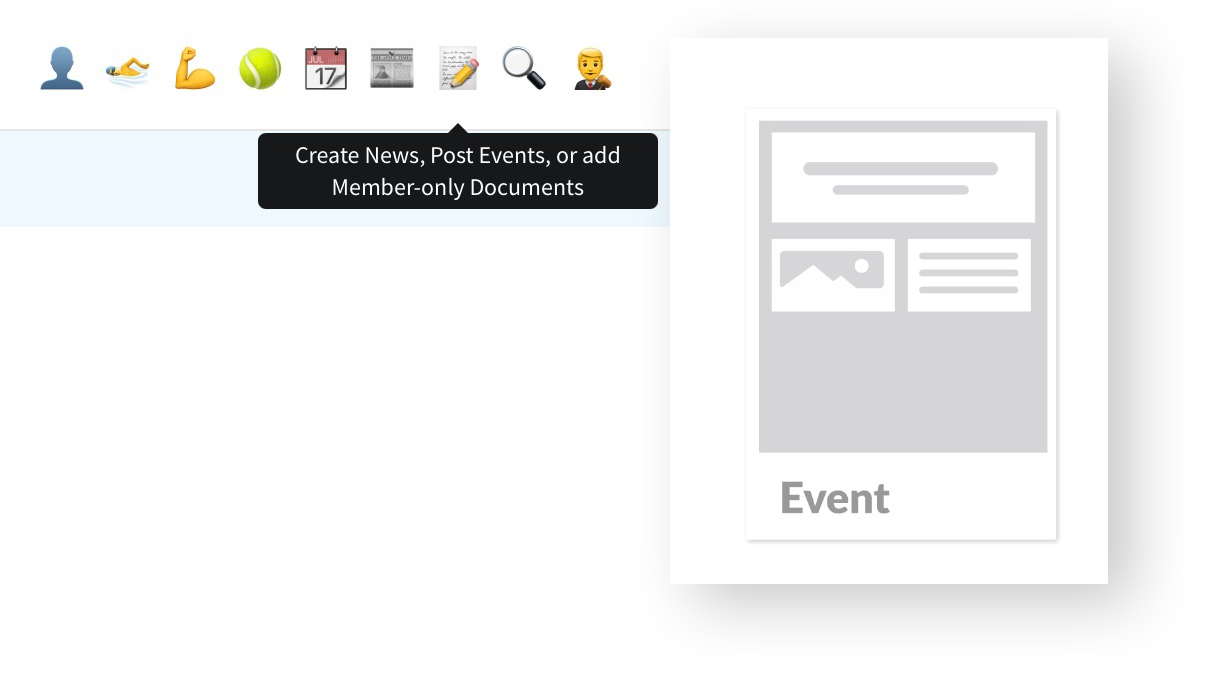
Step 2: Then, as with all new content, start with the Page Creator and ensure the Event Template is selected.

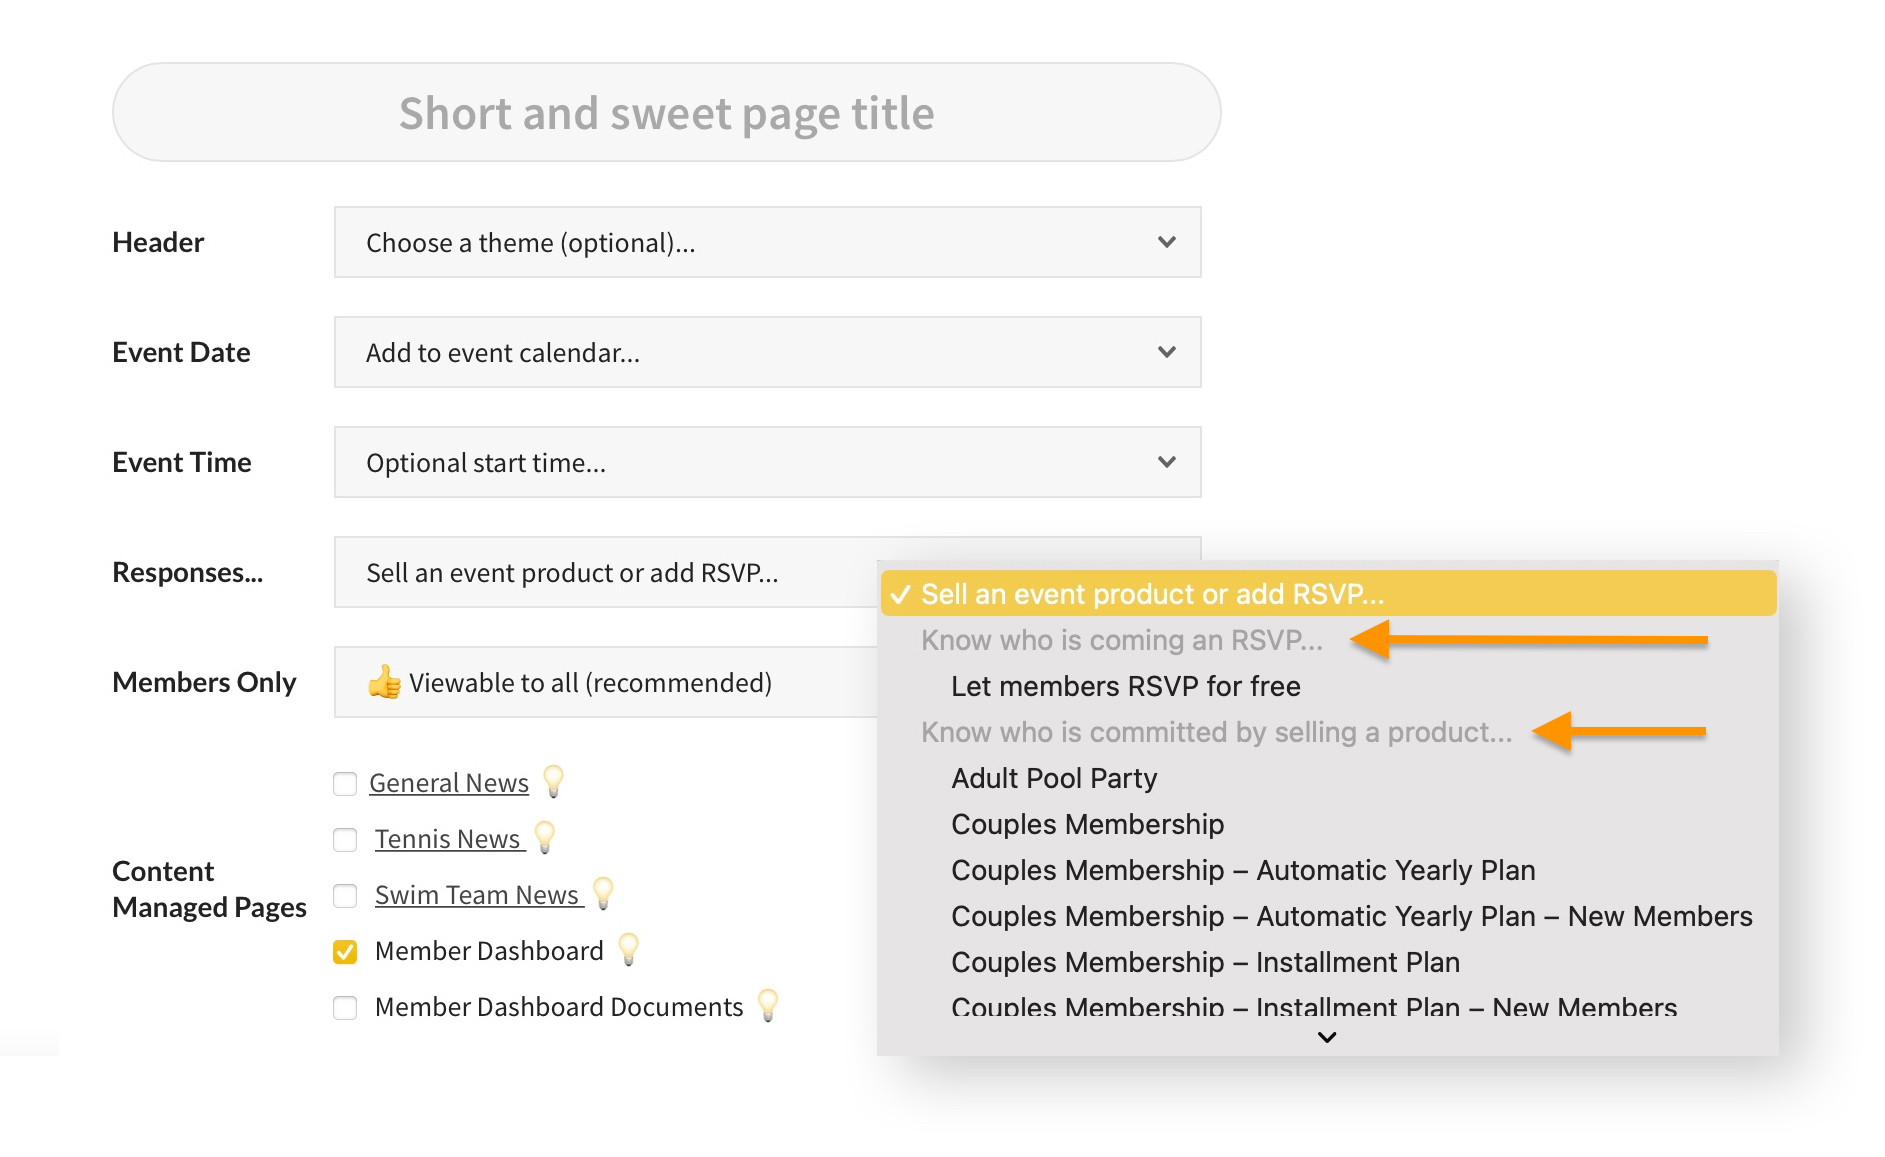
Step 3: Customize your Basic Page Info. These are the same basic options that are available when creating a new page based on any template, with a couple of additions. For more information about what each of the basic options do, read more here. For the purpose of this article though, we will focus on the Event-specific settings.

Event Date
Choosing an Event Date will automatically add this to your Event Calendar and the Upcoming Events section on the Member Dashboard, and will include the date you choose in the header of your new page. Based on the Content Managed Pages settings you choose, it can also appear elsewhere.
Event Time
Include the start time of your event.
Responses
Here’s where you will select your event type. Choose Let members RSVP for free, or the product you created earlier depending on the type of event.
The rest of the steps
Be sure to choose whether this event is Members Only and where you would like it to show on your site. Before saving, you must choose a Featured image. Continue reading Creating and Editing a Page for more information.