To get started, from the Volunteer Dashboard go to Volunteer Settings. By default, you will be editing your General Volunteer Settings, seen selected in the screenshot below…
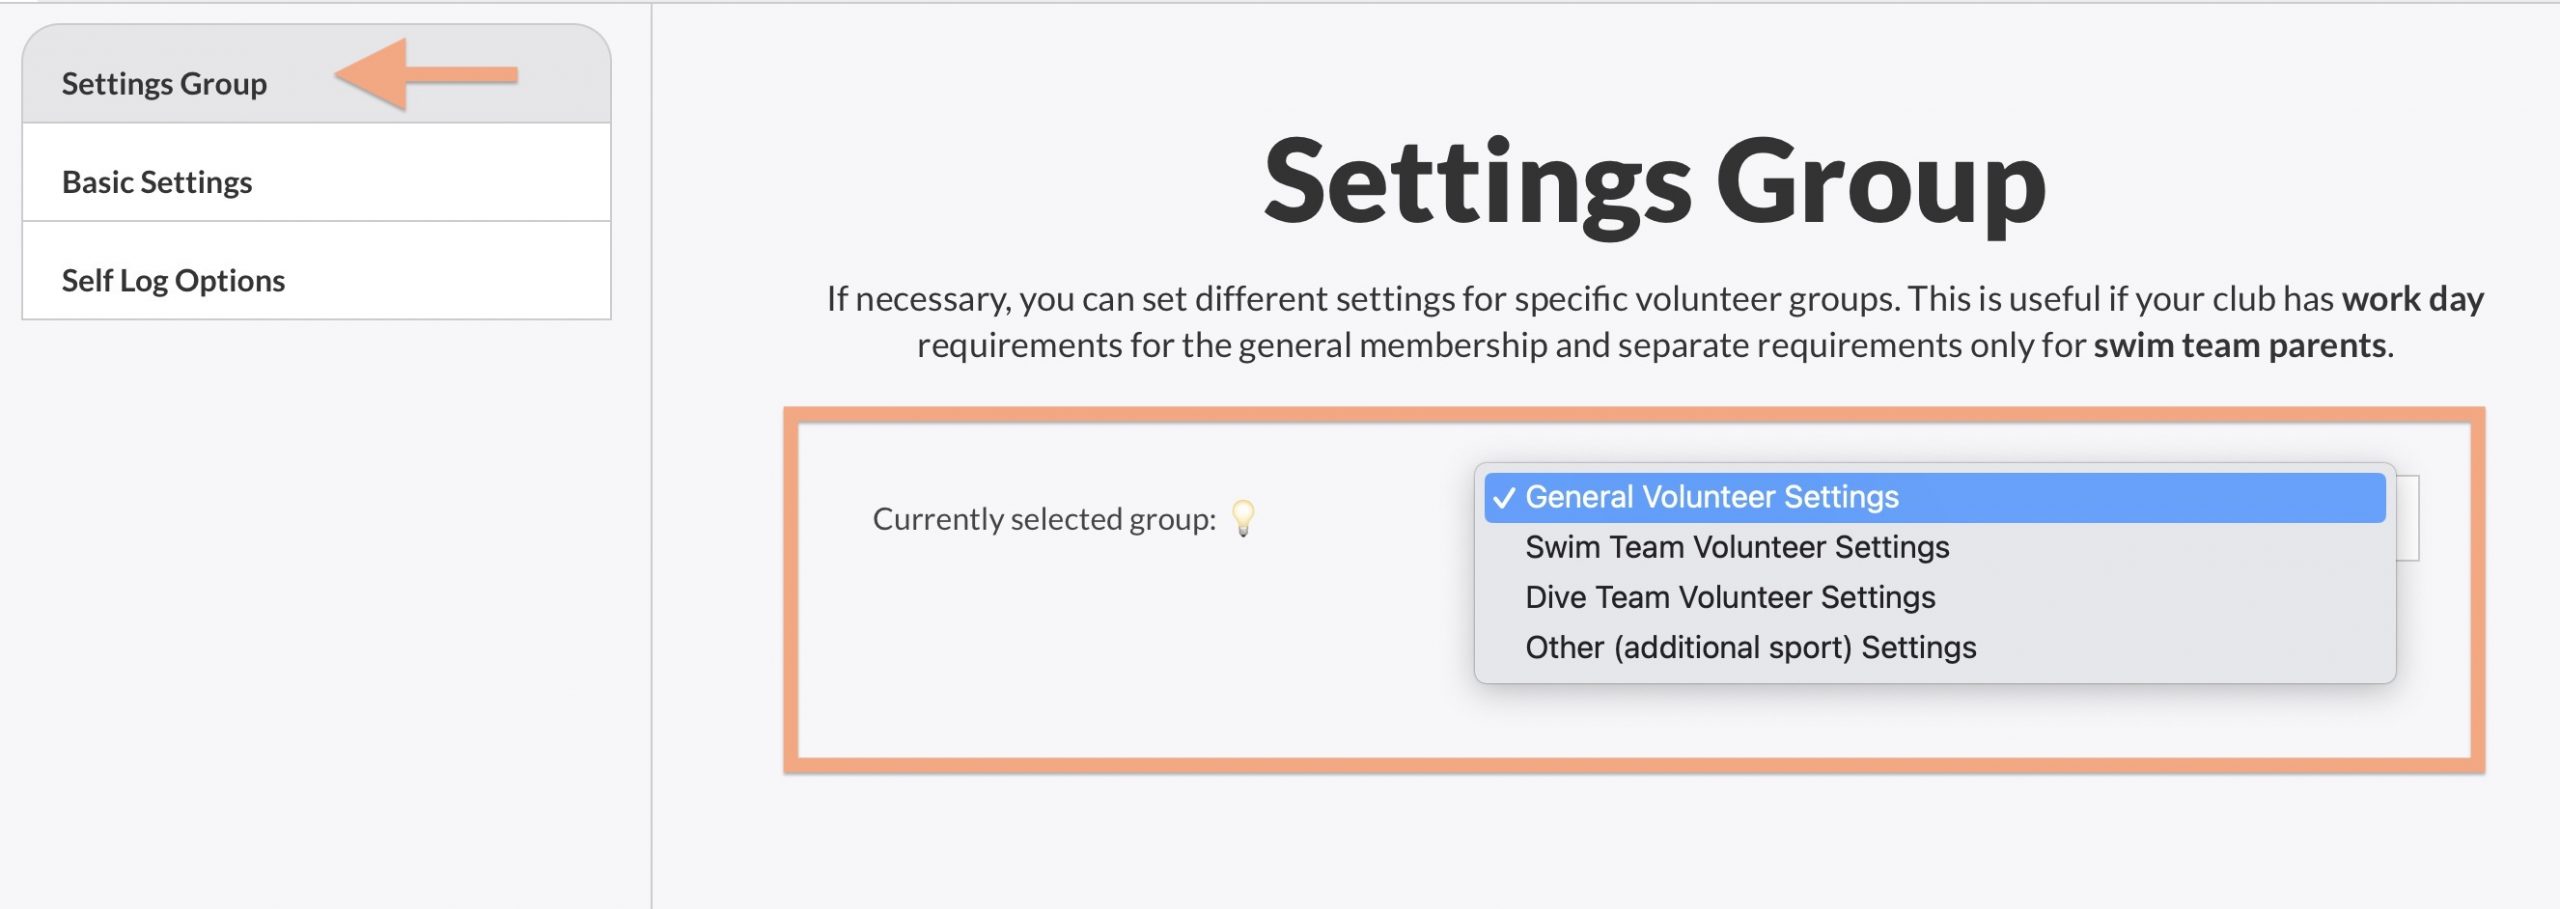
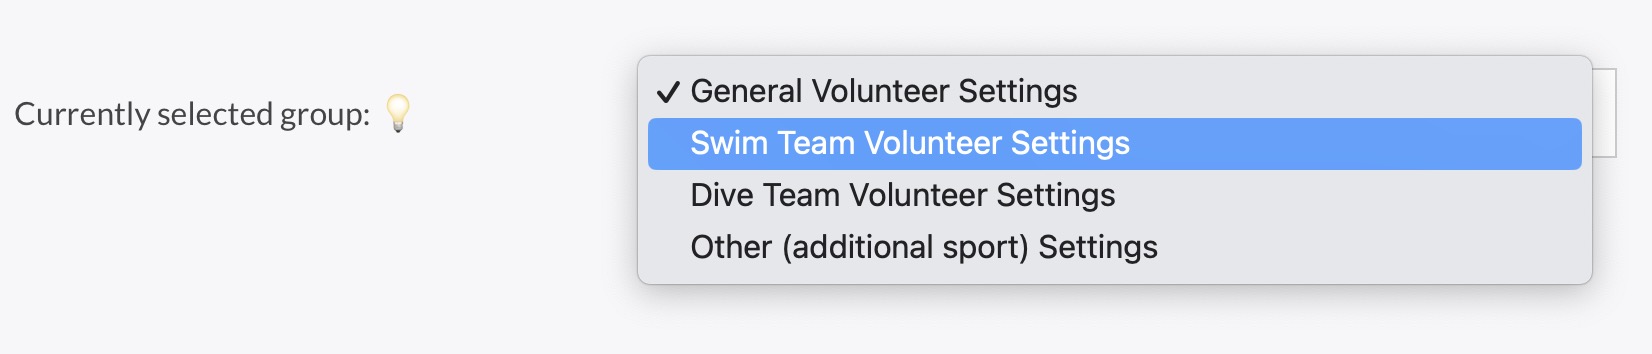
If your Swim Team or Dive Team would also like to use this module, they can set up a completely separate settings group by choose Swim Team Volunteer Settings, Dive Team Volunteer Settings, or Other in the pulldown…
If you choose a different group to edit the settings for, the page will refresh and any settings changes will occur for that particular group. So for example, you could allow self-logging for your General (facility) Volunteers and disallow self-logging for the Swim Team.
Basic Settings
Tap on that Basic Settings tab on the left, and you’ll see something like the the screen below…

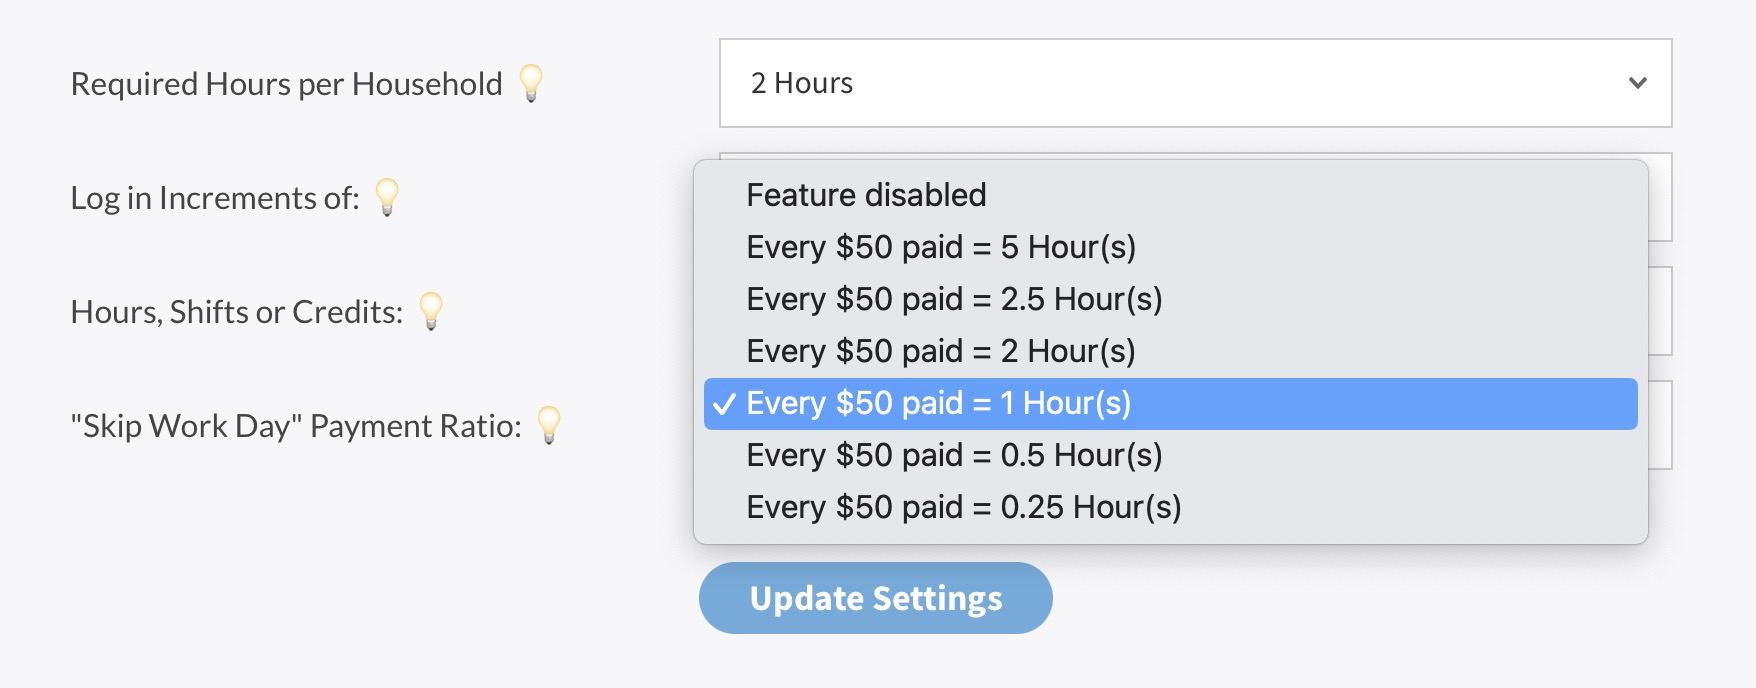
In order, here are the options…
- Required Hours per Household – Set the amount of time each household is expected to work. This particular grid is using “hours” as their metric to track, so you can see in the screenshot above, the value is set to “2 Hours”. When viewing this club’s volunteer time logs, we will see a green checkmark next to any household that has worked at least 2 hours or paid 2 hours worth of “Skip Work” time.
- Log in Increments of – the options here are 15 minutes, 30 minutes or 1 hour (if using hours as the time metric). So for example, a member or board member could log someone as only working 15 minutes. If you don’t want to fuss with small increments under an hour, then set this to 1 hour.
- Hours, Shifts or Credits – If your club thinks in terms of “Shifts” or has some kind of whacky “Credit” system for tracking time, we will let you change the word “Hours” in the user interface to “Shifts” or “Credits”.
- Skip Work Day Payment Ratio – If your club allows members to pay their way out of working, you must define how much their money is worth in volunteer time. You can see example ratios in the selection pulldown below…
That’s it (for now) for the basic settings.
Self Logging Settings
If you would like members to self-log their volunteer time, punch that Self Log Options link on the left column…
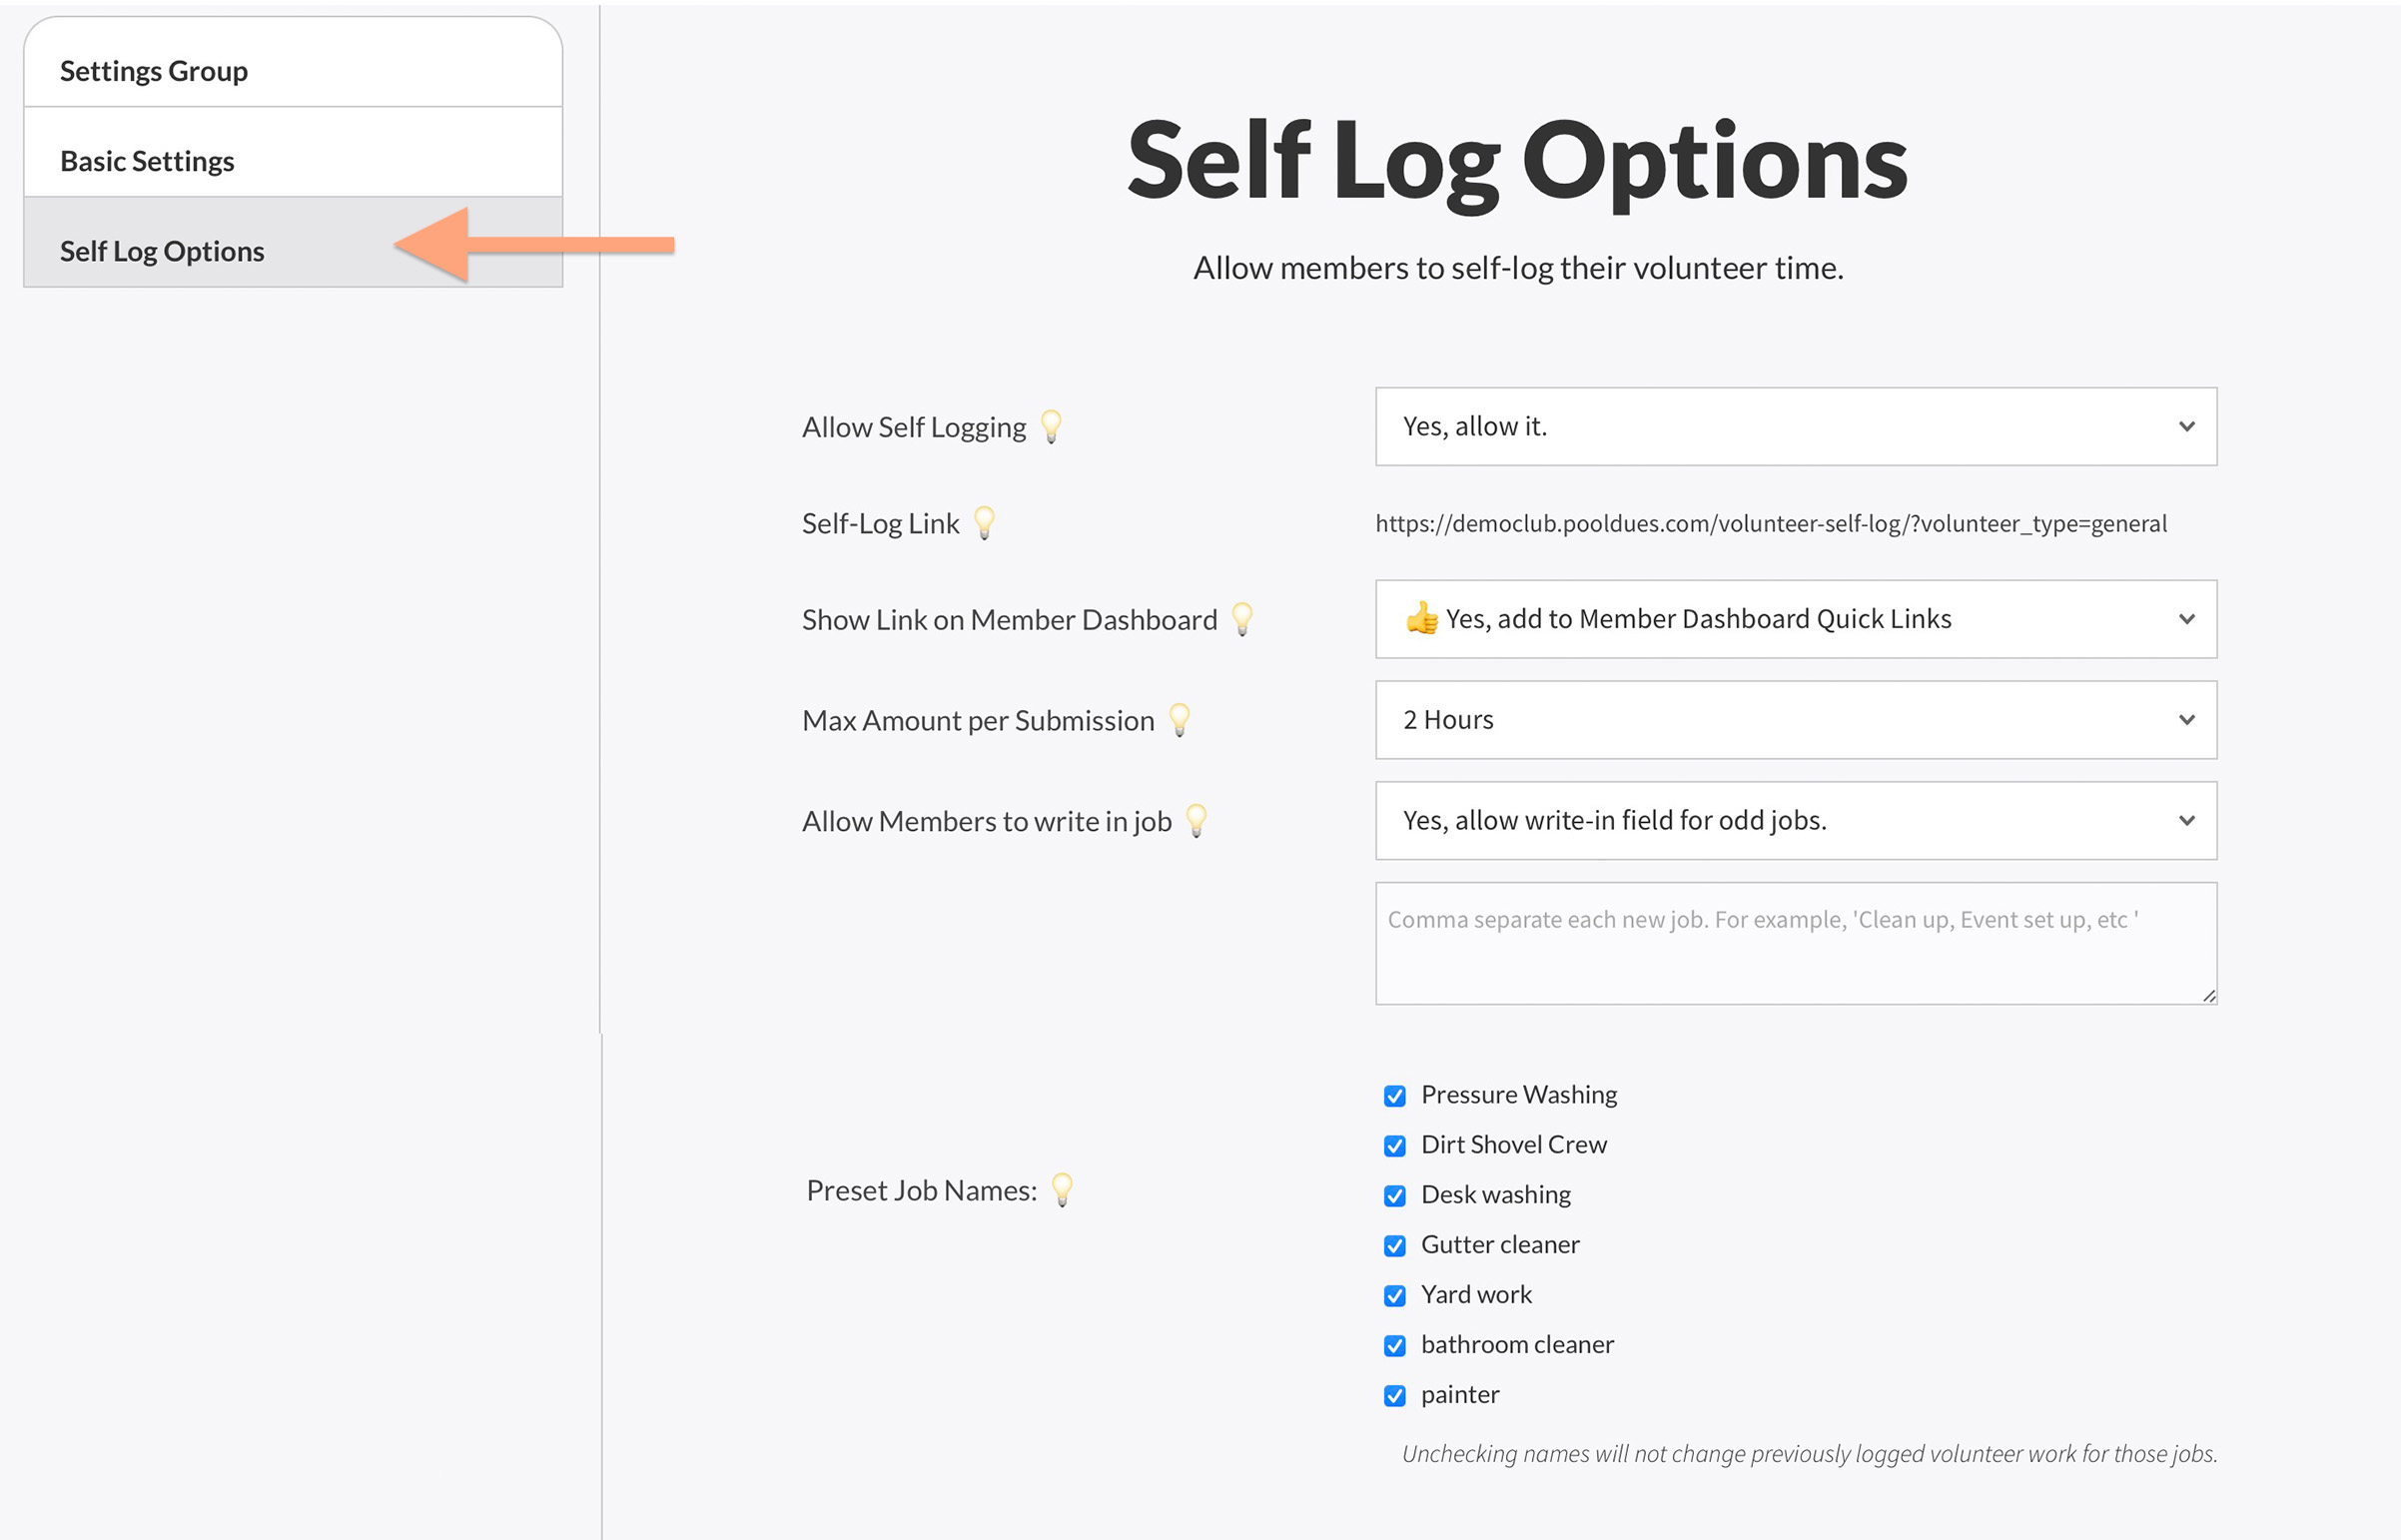
Let’s discuss each setting here…
- Allow Self Logging – Easy choices. “Yes, allow it” or “No, do not allow it”. Even if you set this to Yes, that doesn’t mean the members will suddenly find the link to log their time. You will either need to share the link or make it available using the next option…
- Show Link on Member Dashboard – If this is set to “Yes”, a link to your Self Logging page will be at the top of the Quick Links section of the Member Dashboard. Keep in mind, whatever settings group you are editing (General, Swim Team, Dive Team, or Other), have an independent setting for this feature. So for example, you might show the self logging link for one group and not the others.
- Max Amount per Submission – This is a cap on the amount of time a member can log at once. So for example, if you want to cap them at 1 hour per job, you can do that. This does not prevent them from logging multiple times, only the amount of time that each job took.
- Allow Members to Write In Jobs – This gives members the ability to write in a custom job title for whatever they did.
- Preset Job Names – If you allow self-logging, try to include some basic job names to choose from so your members will ideally pick one instead of writing in their own.
That’s it for now!