Now that you’ve setup your Product-based Passes, it’s time to add a “Sign-Up” type reservation to your grid.
Go to the day and time of your clinic and select the court (or area column if not on your Tennis grid).
For the sake of this example, let’s assume you are creating a tennis clinic. If your clinic requires multiple courts, don’t worry about that now (we you can select them later). If this clinic occurs at the same time weekly, the date you selected will be first dates in a series of repeating clinics. In other words, if your clinic is on Wednesday nights, start with a Wednesday.
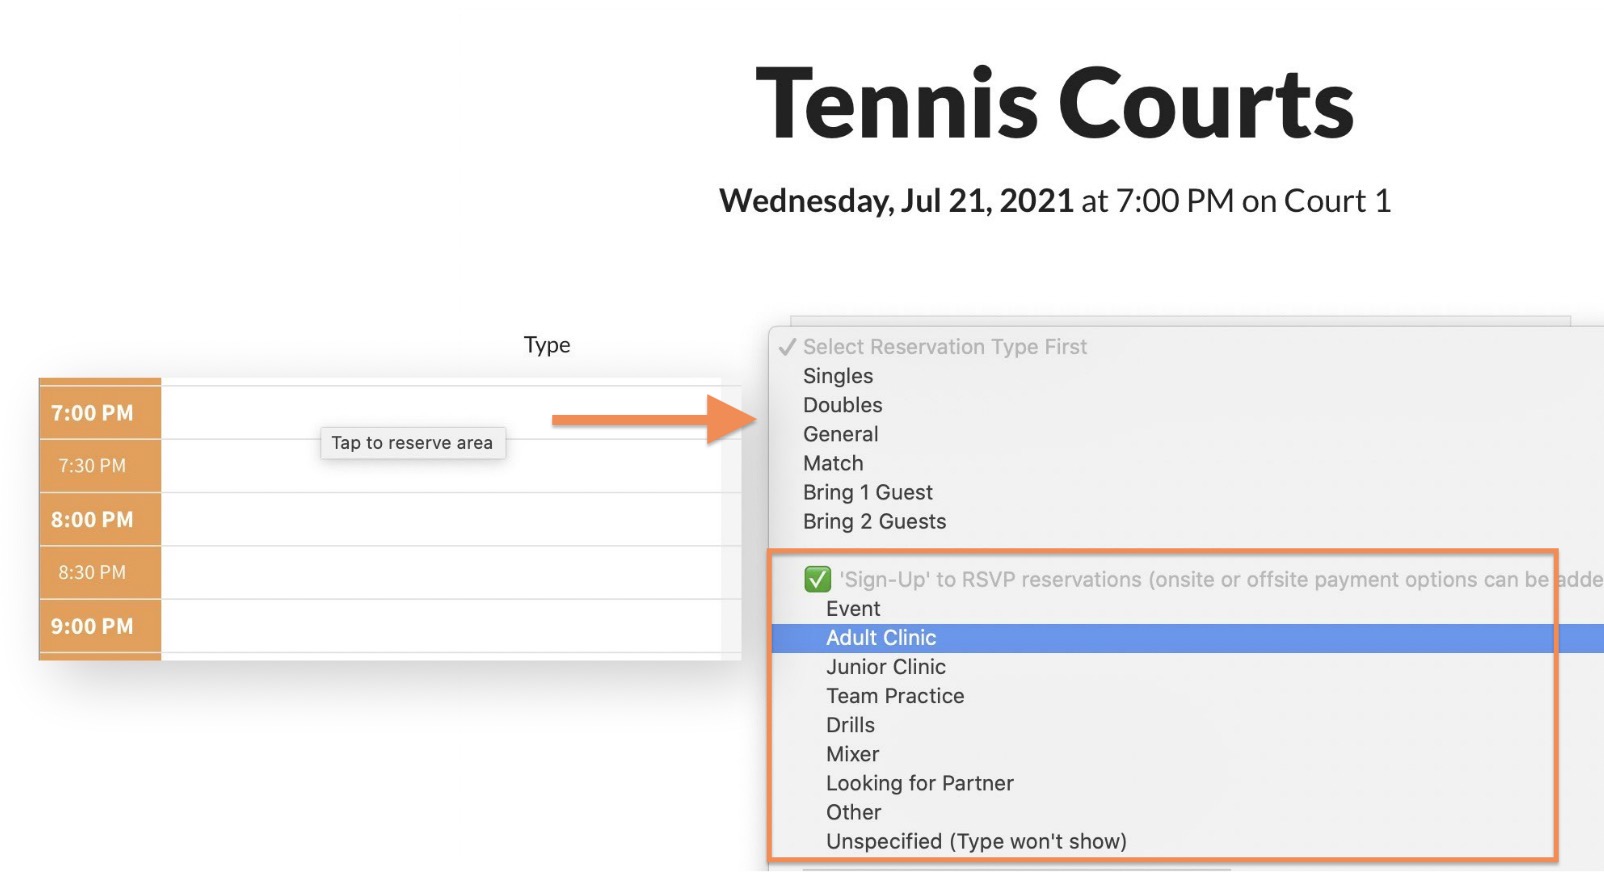
On the next screen, the first option will be to select the Reservation Type. The first set of options will be the reservation types members have access to.
Starting with the green check emoji ✅ you will see the Sign-Up type names. These names are customizable in your grid settings and each grid can have different names. So your tennis grid will obviously have tennis-related Sign-Up type names, whereas a fitness grid might have Sign-Up type names like “Yoga” or “Water Aerobics”.
Before you edit your Sign-Up type names… A good example is “Junior Clinic”. A bad example is “Junior Clinic Ages 10 and under”. Your Sign-Up includes a Subtitle / Play Level field that can be used for specifics like “Ages 10 and under”
After picking your Sign-Up type, the page will reload with most of the standard reservation options, like Length, Color, Public Note and Book Ball Machine.
Replacing the Member Name field though is an option to add a Subtitle / Play Level Request. Use this to add a little more detail to your clinic.

Sign-Up Options
In the next section titled Sign Up Options you will see the basic options that allow people to sign up for your clinic, class, or really whatever! This could be a movie night, potluck dinner, raffle you name it.
Let’s look at each option…
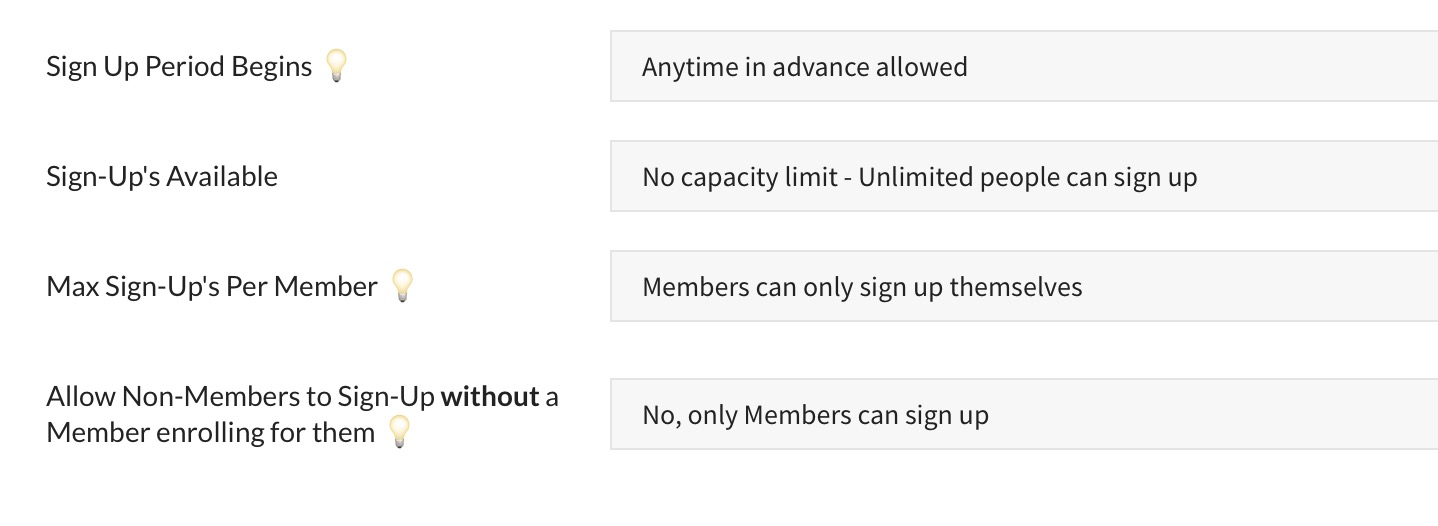
- Sign-Up Period Begins – By default members can sign up anytime in advance. Other options range from 1 day in advance to 99 days in advance. When scheduling repeating clinics this is a useful to prevent a member from signing up for every clinic offered right away.
- Sign-Up’s Available – By default there is no capacity limit. If you need to limit the number of people that can sign up select an option from 1-999. If a capacity is set you will see the wait list option below…

- Enable Wait List – By default this is set to Yes. If the capacity is met, members are put on a wait list. If someone drops out, the entire wait list is emailed and the first lucky person to revisit the sign-up page will get that spot.
- Max Sign-Up’s Per Member – By default this is set to “Members can only sign up themselves”. If you allow members to sign up more than that (up to 9), you will see some new options below…
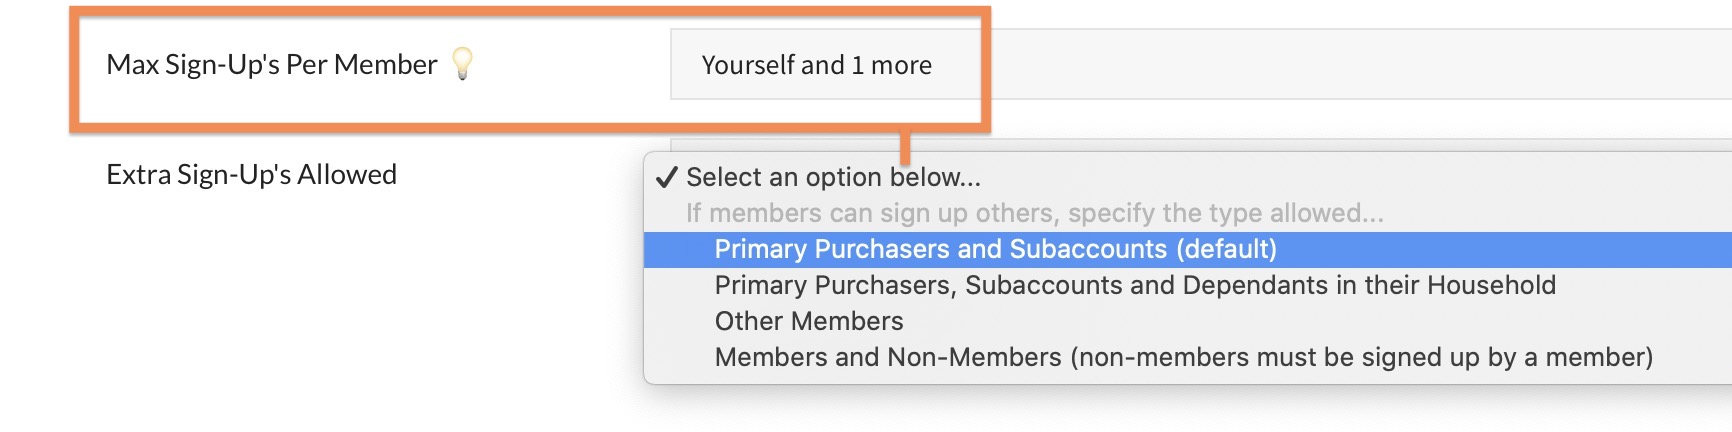
- Extra Sign-Up’s Allowed – If the previous option allows members to sign up more than just themselves, select who they can sign up. Options include “Primary Purchasers and Sub-Accounts”, “Primary Purchasers, Sub-Accounts and Dependents”, “Other Members” or “Members and Non-Members”.
- Allow Non-Members to Sign-Up without a Member enrolling for them – exactly what it says, but this option should be disabled when requiring passes to sign up (only members can add pre-paid passes to an account).
Requiring Passes to Sign-Up
In the Pass Options section, you will see the following options…

Product – this will be the product that generates the passes members will use to sign up. These products are noted with a 🎟 emoji. Products that don’t generate passes are greyed out.
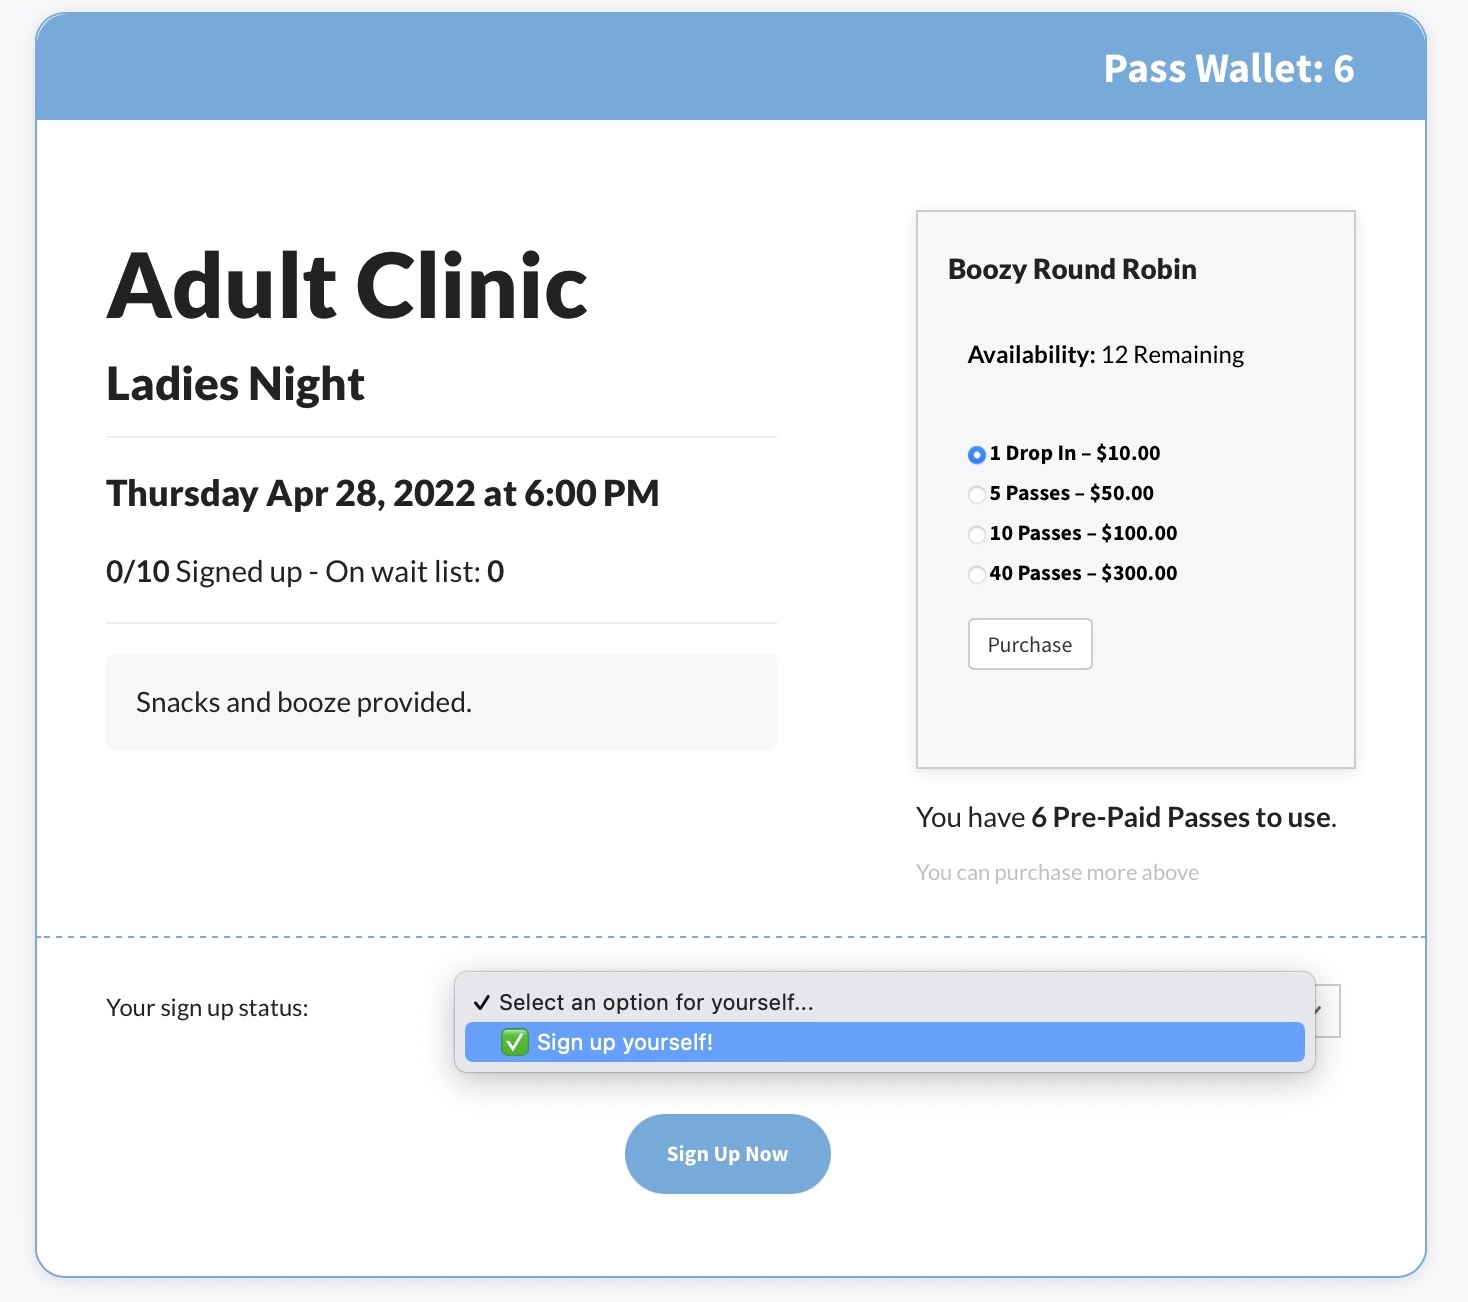
Sign-Up Options – Choose whether members MUST have passes already purchased, or COULD owe for them after signing up. Generally we recommend members already have passes stored in their account to sign up. If they do not, purchase links will show on the sign up page.
Prompt – An extra field to use for supplemental info about the sign-up. For reference see where the “Food provided!” text appears in the screenshot below…
Read about managing your Sign-Up here.