Every calendar can have its own settings. In this article we will discuss each section from top to bottom. The first section mainly deals with who has access to the calendar…

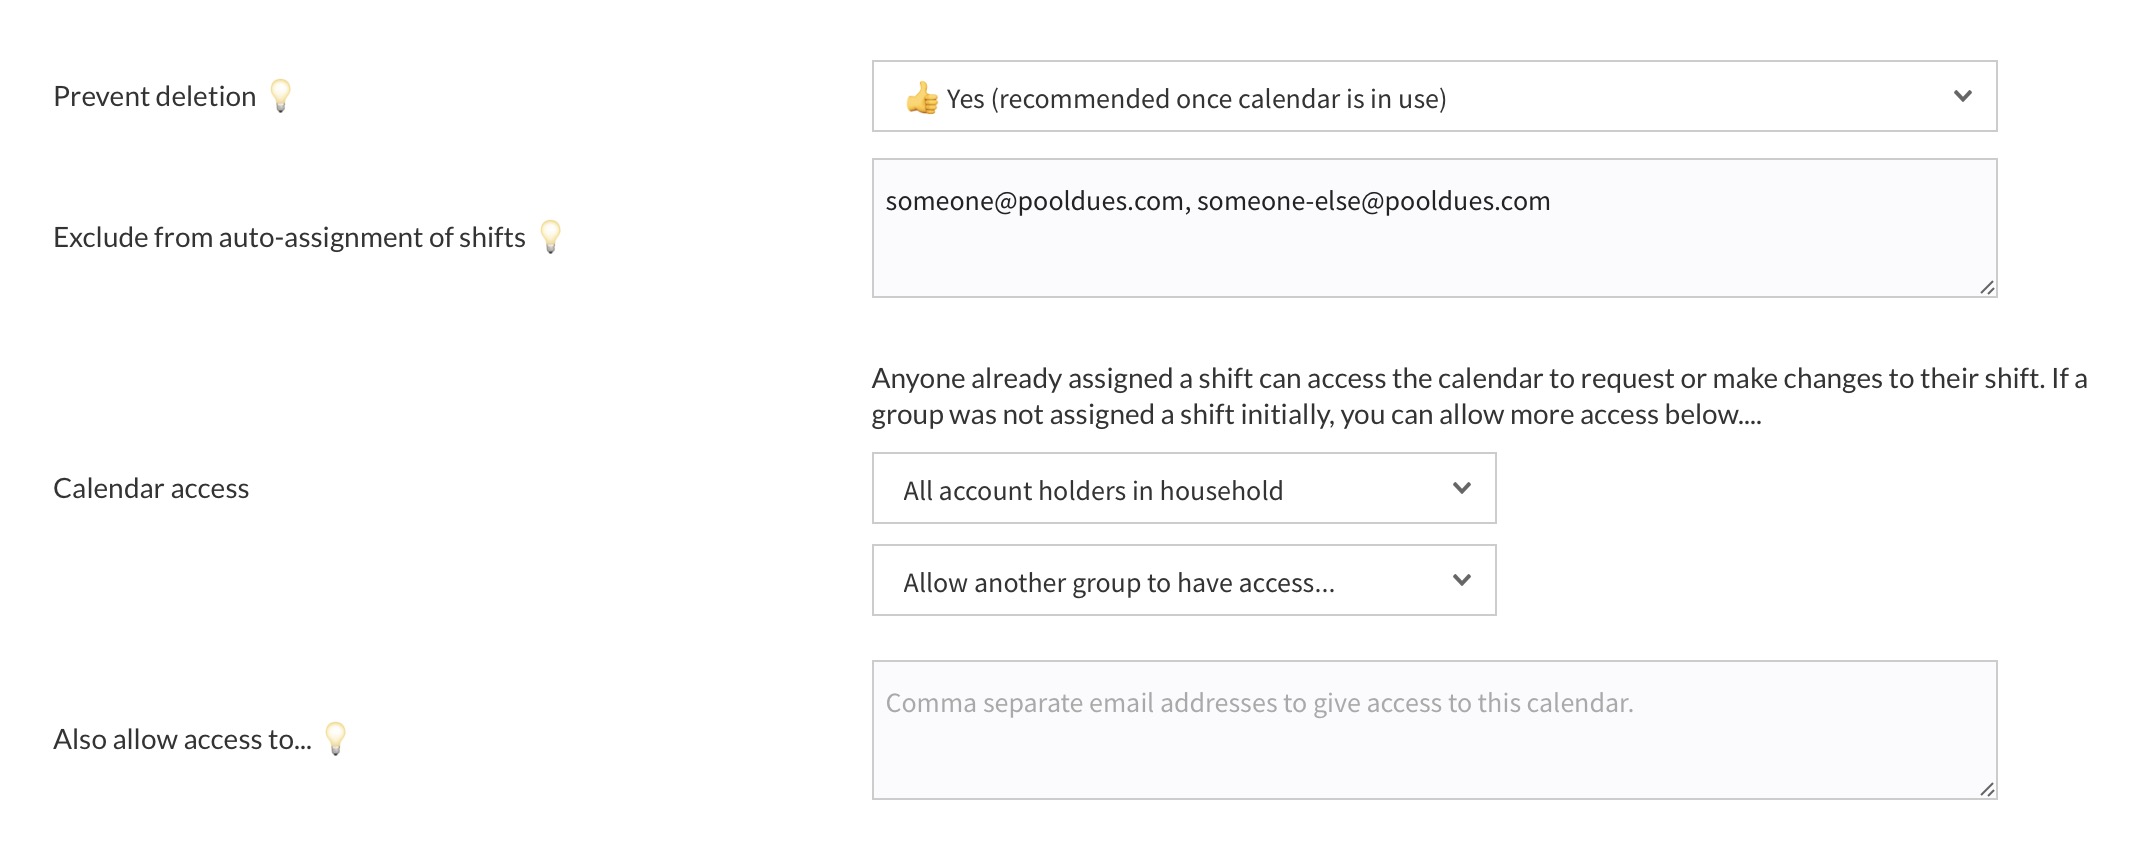
Prevent deletion – Set this value to “yes” prevent the calendar from being accidentally deleted with the Delete Shifts tools.
Exclude from auto-assignment of shifts – Emails in this field will be skipped over if future shifts are automatically created in this category. This will NOT retroactively unassign shifts if someone already has a shift assigned in to this calendar.
Calendar access – Choose from pre-set groups to grant access to this calendar. If the calendar will be used for volunteer jobs most likely you want to give access to all members. If the calendar is for staff, such as lifeguards, chose the “Life Guard” option.
Also allow access to – If you want to give access to someone else you can enter their email here. Just remember they must have a member or staff member account.
Job Names
In this section you can add job names to assign to shift workers. If your calendar allows people to add their own shifts, they can select from these jobs. You can add up to 20 job names per calendar.

Contacts / Notifications
This section mainly has settings related to notifications to admins and assignees.

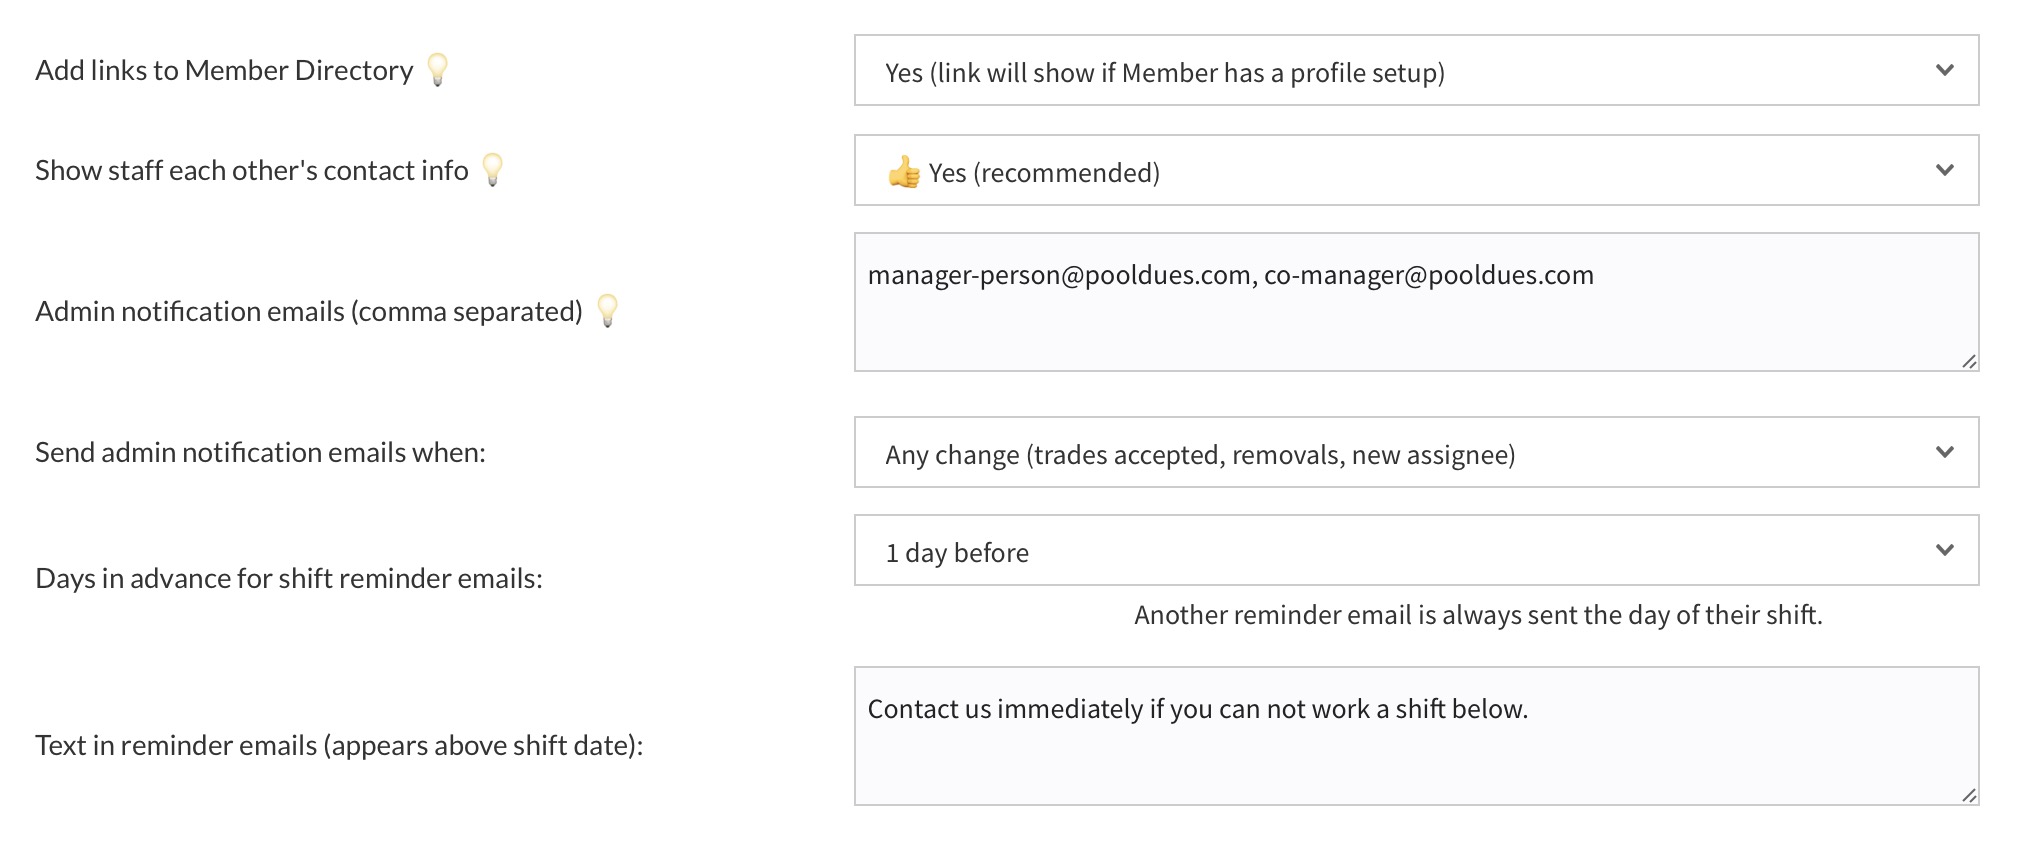
Add links to Member Directory – Set to yes and a link will appear by the shift assignee’s name which goes to their contact info in the member directory. This is recommended for volunteer calendars.
Show Staff each other’s contact info – If yes, assignees marked as ‘Staff’ will see each other’s email address / phone number. This is recommended for staff-based calendars (volunteer calendars typically do not have workers marked as Staff).
Admin notification emails – Comma separate emails in this field that you want notified when certain changes are made to the calendar (as set in the next option).
Send admin notification emails when – Options here are Any Change, Changes other than trade accepted, and Never. If you select “Any Change” your admins will be sent an email when assignees sign up for a new shift, are removed from a shift, or accept a shift trade (these actions might not all be applicable to your calendar).
Days in advance for shift reminder emails – This is the number of days before a shift to remind an assignee. For staff calendars you probably want to set this to 1 day (ie “Tomorrow you have a shift”). For volunteer calendars you may want to remind people a little further in advance in case they forgot they signed up to do something.
Text in reminder emails – This text appears in reminder emails to assignees above their shift details (job name, date and time). For example, you probably want something like, “Contact us immediately if you can not work a shift below.”
Options to allow assignees to create their own shifts
If your shift calendar was for “Volunteer Jobs”, this would allow members to add their own dates and times they will work or have already worked. The jobs they can choose from are the ones defined in the Job Names section.

Allow anyone with access to create shifts – Set “yes” to turn this feature on for your calendar. The rest of the settings in this section are ignored if set to “no”.
Max length of shift – This is the most amount of time a worker can assign themselves in a single shift.
Earliest date to self-assign a shift – The date workers can start adding shifts for themselves
Latest date to self-assign a shift – The last date workers can add a shift
Earliest start time – The earliest time they can begin
‘Create shift’ text – This text appears on the calendar as a prompt to get them to add a shift
Options to trade a shift or seek a replacement
These settings allow shift assignees to mark their shift as willing to trade or seeking a replacement. These statuses do not get the original assignee out of working. Their shift is still considered covered by them unless a trade is made or someone takes their shift. Assignees are emailed whenever a change occurs.

The first two options are pretty self-explanatory – set Yes to allow these options. The last option is the days in advance required to trade or find a replacement. For example, if the number is 7 days, then the shift is un-tradable / replaceable within a week of the shift date.
Options to opt-out of a shift
These settings allow assignees to mark themselves unable to work and take their name off the scheduled shift. If this is allowed, choose how to handle unassigned shifts.

Allow assignees to remove themselves from a shift – Set to Yes to enable this functionality. The next two settings are ignored if this is set to No.
Automatically re-assign shifts if assignee removes themselves – If Yes, the system will automatically pick another worker if one bails.
Days in advance required to remove themselves – For example, if the number is 7 days, then the shift assignee can not remove themselves within a week of the shift date.
Add extra time to each shift
This section allows you to add a default amount of time each shift. This can be used to account for time worked opening or closing the facility outside of the assigned start and end time. New shifts scheduled to this calendar will include this time by default. This amount can also be adjusted on a per shift basis later.

If you decide to add this over time to every shift going forward, you can also retro-actively add that same amount of time to previous shifts
User Interface text
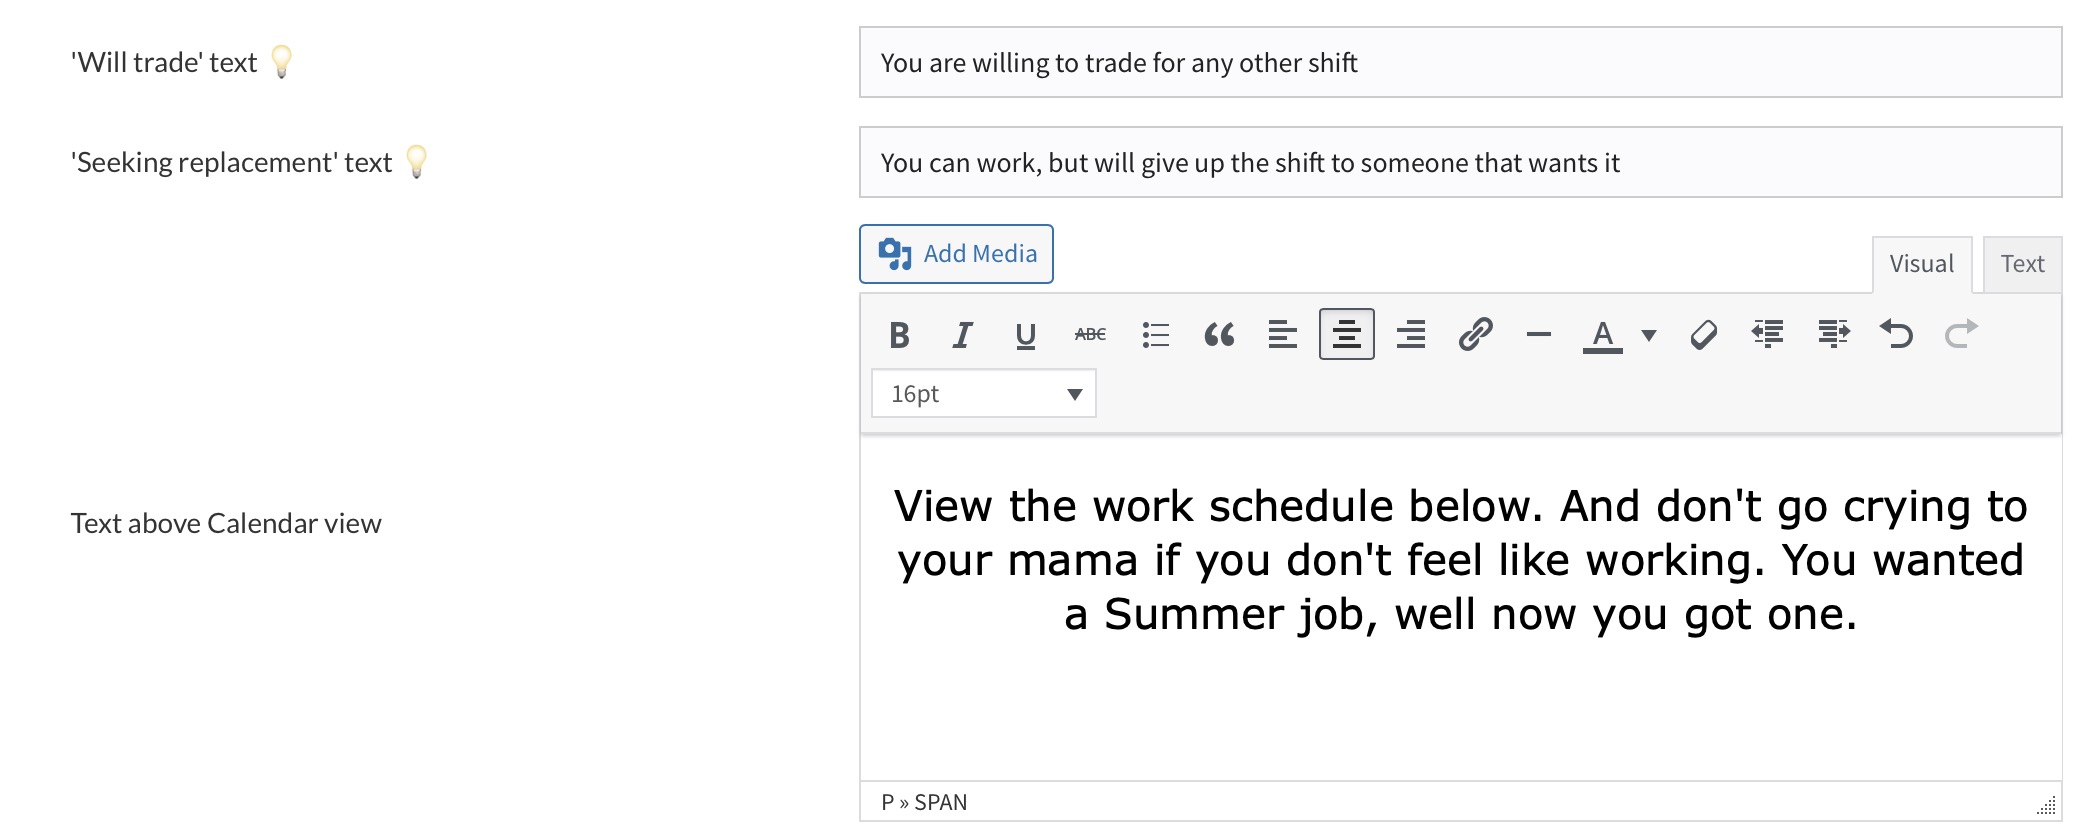
Finally you can change some of the text that appears on the calendar. Most notably, you can edit the text directly above the calendar.
